Maven is currently distributed in several formats for your convenience. This chapter contains instructions for installing Maven for different platforms. If you are interested in the details of your Maven installation, this entire chapter will give you an overview of what you’ve installed and the Apache Software License.
2.1 Prerequisites
As Maven is a Java tool, before proceeding with using Maven you need to ensure the Java JDK is installed in your computer. At the time of writing this e-book, the latest stable Java release of Java is JDK 17.
You have two choices when it comes to installing Java. You either use the Oracle JDK or Open JDK. Oracle JDK offers all the features of Open JDK, plus some proprietary features and commercial support from Oracle. The Open JDK is the open-source version of Java, and it is free to use for both personal and commercial projects.
There are many different distributions of OpenJDK available, some of the popular distributions are Amazon Corretto, Microsoft JDK, Azul Zulu, Red Hat OpenJDK, etc. You can install any of the OpenJDK distributions for working with Maven, but before you do, It is recommended that you read and understand the Licence agreements and terms of use from these distributors.
For installation, we have many different approaches, we can install Java using a package manager such as Homebrew or SDKMan. Alternatively, we can use the manual installation process.
This chapter covers the Java installation process using the SDKMan and Homebrew. For installation in Windows, we have a section with relevant links.
2.1.1 Installing Java JDK using SDKMan
SDKMan is a command line utility used for installing and managing multiple versions of the SDKs. This works for MacOS and Linux, Windows WSL. The SDKMan simplifies the installation, management, and switching between different versions of Java SDK effortlessly.
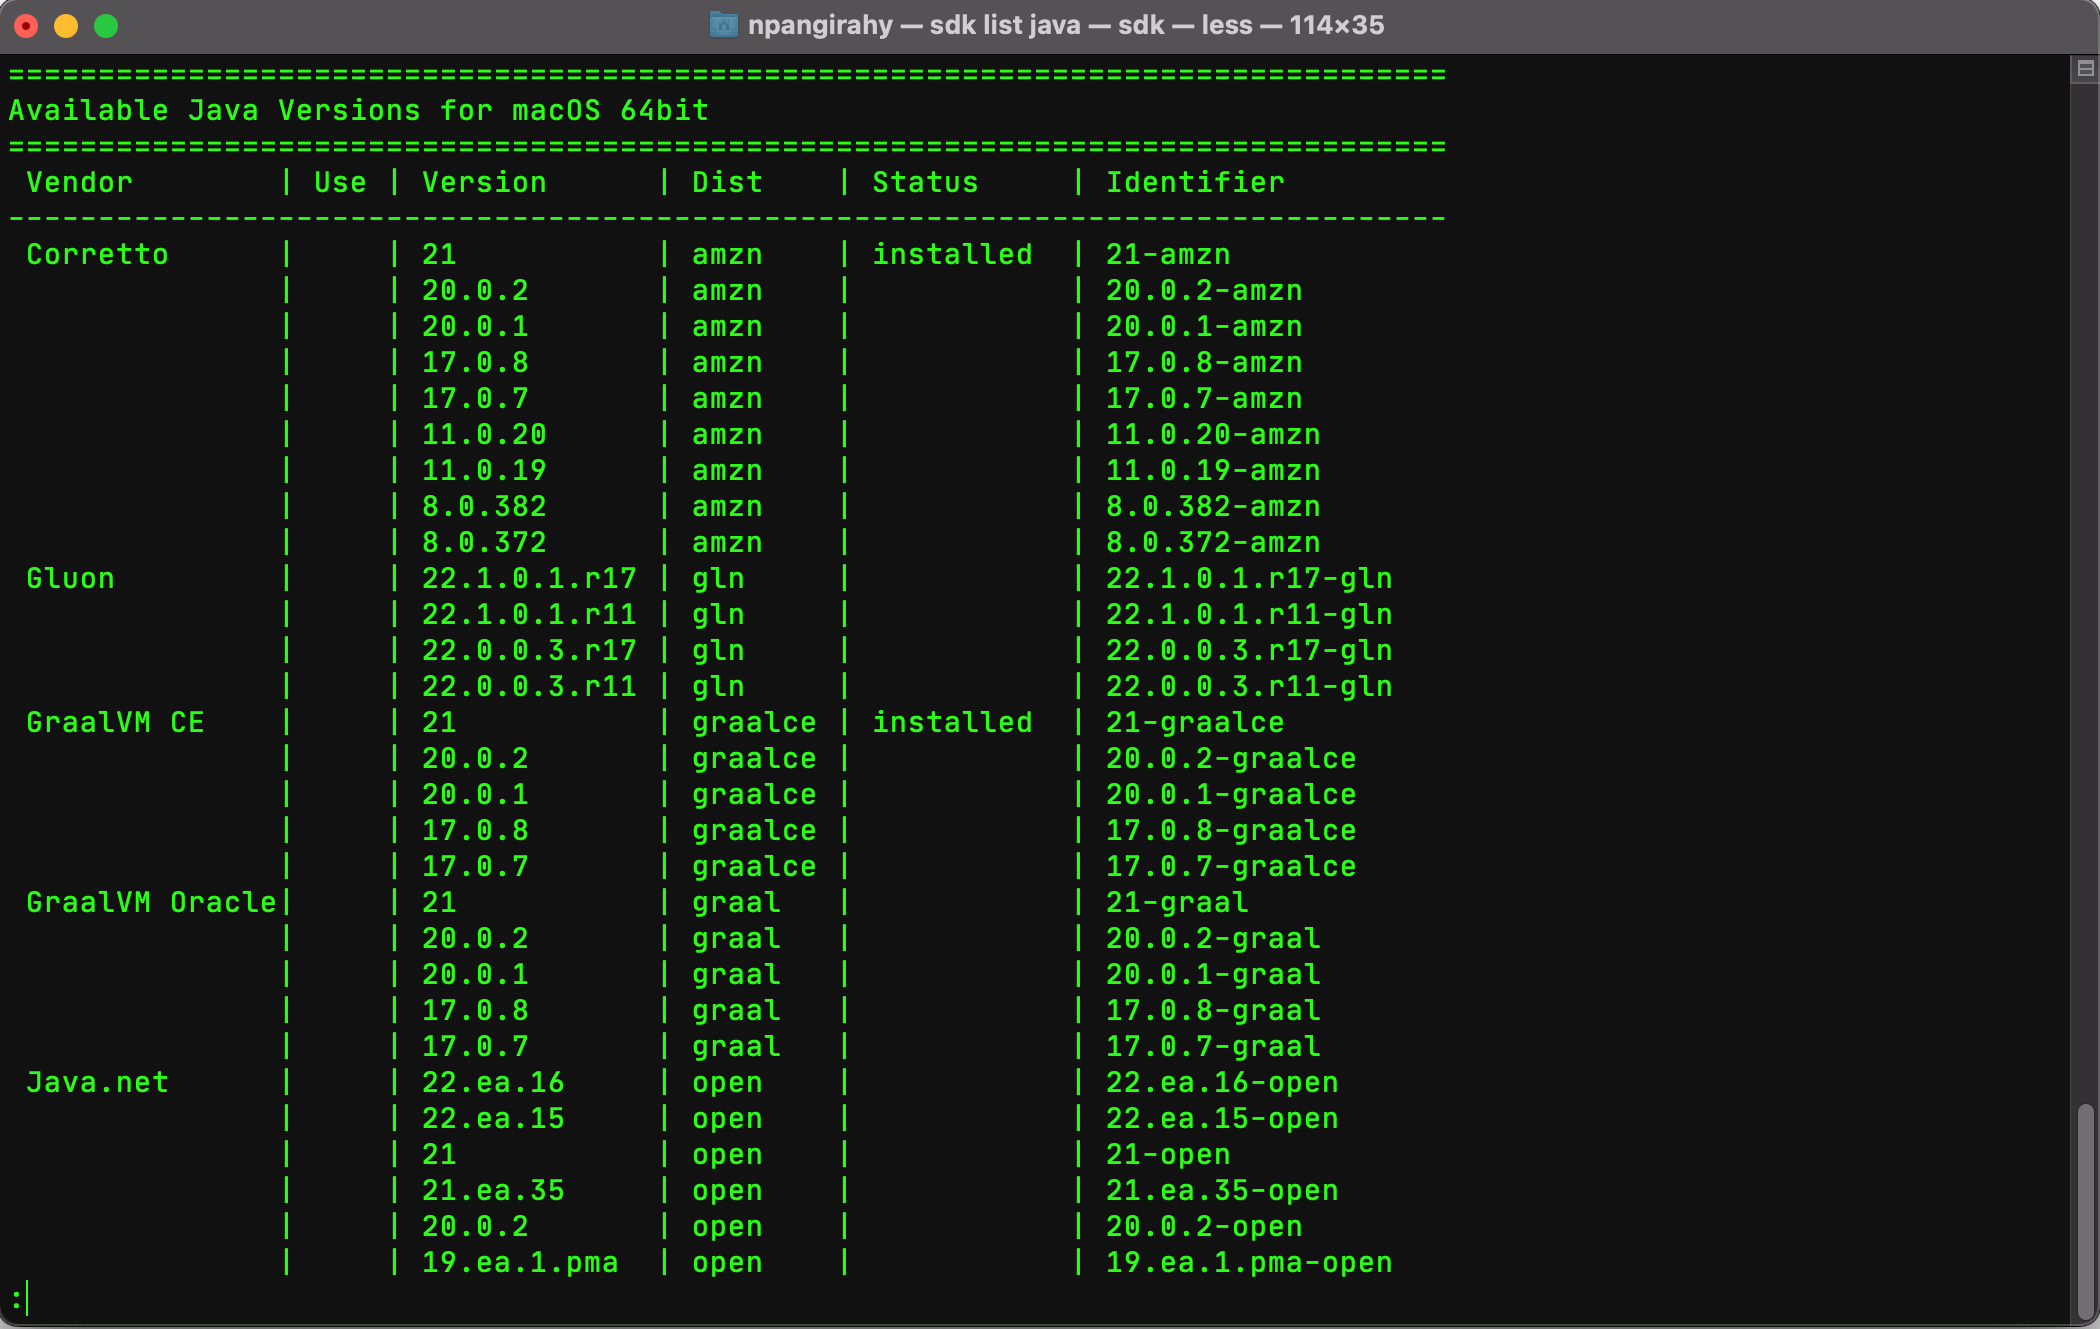
Before we install let us first get the list of available Java versions. You can do that using the following command:
sdk list javaThis will return a list of all available Java versions.
You can filter a specific Java version using the grep command.
sdk list java | grep 17To install a specific version, you need to use the distribution identifier.
sdk install java 21-amznTo check the list of installed Java versions
sdk list java | grep installedTo use specific versions of Java
sdk use java 21-amznCheck if you have Java installed using the following command.
java --version2.1.2 Installing Java JDK using Homebrew
Homebrew is a free and open-source software package manager that simplifies the installation of software on MacOS (and supports Linux systems to some extent). Think of it like a one-stop shop for accessing tools and applications you might need for development, server management, homebrew experiments, or just general use.
Type brew search openjdk to find all
available Java-related formulas.
$ brew search openjdk
==> Formulae
openjdk ✔         openjdk@11        openjdk@17 ✔     openjdk@8

==> Casks
adoptopenjdk       homebrew/cask-versions/adoptopenjdk8
microsoft-openjdk  homebrew/cask-versions/microsoft-openjdk11
openkey
To show the formula details, you can use the brew info command. The Java formula always contains the latest OpenJDK version; at the time of writing, the latest is JDK 17.
The openjdk@17 formula contains the Java 17LTS version.
$ brew info openjdk@17
==> openjdk@17: stable 17.0.4.1 (bottled) [keg-only]
Development kit for the Java programming language
https://openjdk.java.net/
/usr/local/Cellar/openjdk@17/17.0.4.1_1 (639 files, 305.6MB)
  Poured from bottle on 2023-09-25 at 00:00:57
From: https://github.com/Homebrew/homebrew-core/blob/HEAD/Formula/[email protected]
License: GPL-2.0-only with Classpath-exception-2.0
==> Dependencies
Build: autoconf ✘
==> Requirements
Build: Xcode ✔
==> Caveats
For the system Java wrappers to find this JDK, symlink it with
  sudo ln -sfn /usr/local/opt/openjdk@17/libexec/openjdk.jdk /Library/Java/JavaVirtualMachines/openjdk-17.jdk

openjdk@17 is keg-only, which means it was not symlinked into /usr/local,
because this is an alternate version of another formula.

If you need to have openjdk@17 first in your PATH, run:
  echo 'export PATH="/usr/local/opt/openjdk@17/bin:$PATH"' >> ~/.zshrc

For compilers to find openjdk@17 you may need to set:
  export CPPFLAGS="-I/usr/local/opt/openjdk@17/include"

==> Analytics
install: 30,649 (30 days), 82,462 (90 days), 154,946 (365 days)
install-on-request: 20,080 (30 days), 52,615 (90 days), 88,978 (365 days)
build-error: 65 (30 days)
To install the Open JDK 17, you can type the following command.
brew install openjdk@17Check if you have Java installed using the following command.
java --version2.1.3 Install Java in Windows OS
There are several choices for installing Java on Windows OS; we can install using the graphical PKG and MSI installers, or through package managers WinGet, Homebrew, apt, and yum.
Referee the official refer the official Installation guide. https://learn.microsoft.com/en-us/java/openjdk/install
To ensure that Java is installed correctly, open a Command Prompt or PowerShell window and enter the following command.
java -version2.2 Install Maven on Windows
This section will drive you thought the steps to install and configure Maven on Windows Operating System.
- Download Maven from the official website: https://maven.apache.org/download.cgi. Choose the latest binary zip archive for Windows and download it to your preferred directory. When downloading Maven, make sure you choose the latest version of Apache Maven from the website. The latest version of Maven at the time of this writing is Maven 3.9.x.


- Extract the downloaded zip file to a directory on your system. For example, you could extract it to the "C:\Program Files" directory.
- Set the environment variables for Maven. Open the Start menu and search for "Environment Variables". Click on "Edit the system environment variables".
- In the System Properties window, click on the "Environment Variables" button.
- Under the System Variables section, click on "New" to create a new variable. Set the variable name as MAVEN_HOME and the variable value as the path to your Maven installation directory. For example, "C:\Program Files\apache-maven-3.9.0".
- Next, find the "Path" variable under System Variables and click "Edit".
- In the Edit environment variable window, click "New" and add the path to the "bin" directory within your Maven installation directory. For example, "C:\Program Files\apache-maven-3.9.0\bin".
- Click "OK" on all the windows to save the changes.
- Open a new command prompt window and run the command
mvn -versionto verify that Maven is installed correctly. You should see the version of Maven printed on the console.
mvn -version2.3 Install Maven on MacOS using Homebrew
To install and configure Maven on MacOS, you can follow these steps:
- Open the Terminal on your Mac.
- Install the Homebrew package manager by running the following command in the terminal. This step is required only if Homebrew is not installed on your machine.
/bin/bash -c "$(curl -fsSL <https://raw.githubusercontent.com/Homebrew/install/HEAD/install.sh>)"- Install Maven by running the following command in the terminal:
brew install maven- Verify that Maven has been installed by running the following command in the terminal:
mvn -version- Set the environment variables for Maven by adding the following lines to the .bash_profile file in your home directory:
export M2_HOME=/usr/local/Cellar/maven/{VERSION}/libexec
export PATH=$PATH:$M2_HOME/bin
Replace {VERSION} with the actual
version of Maven that you installed.
- Reload the .bash_profile file by running the following command in the terminal:
source ~/.bash_profile- Verify that Maven has been configured correctly by running the following command in the terminal:
echo $M2_HOMEYou should see the path to your Maven installation printed on the console.
Congratulations, you have successfully installed and configured Maven on your MacOS system!
2.4 Testing a Maven Installation
Once Maven is installed, you can verify if it is
installed properly by running mvn -v from the command line. If Maven has been
installed, you should see something resembling the following output:
~ mvn -version
Apache Maven 3.9.6 (bc0240f3c744dd6b6ec2920b3cd08dcc295161ae)
Maven home: /opt/homebrew/Cellar/maven/3.9.6/libexec
Java version: 17.0.8, vendor: Microsoft, runtime: /Users/nilan /.sdkman/candidates/java/17.0.8-ms
Default locale: en_GB, platform encoding: UTF-8
OS name: "mac os x", version: "14.1.2", arch: "aarch64", family: "mac"
If you do not see this output and your operating system cannot find the maven command, make sure that your PATH and M2_HOME environment variables have been properly set.
2.5 Getting Help with Maven
This book is not a comprehensive reference for Maven but just a starting point. The core of Maven is very simple, however the real work in Maven happens in the plugins, and there are tons of plugins available for you to use. Should you encounter any problem with Maven or have any Maven plugin-related issues; you can search for answers from the official Maven website http://maven.apache.org.
2.6 The Apache Software License
Apache Maven is released under the Apache Software License, Version 2.0. If you want to read this license, you can read ${M2_HOME}/LICENSE.txt or read this license on the Open-Source Initiative’s website at https://opensource.org/license/apache-2-0/.
There’s a good chance that, if you are reading this book, you are not a lawyer. If you are wondering what the Apache License, Version 2.0 means, the Apache Software Foundation has assembled a very helpful Frequently Asked Questions (FAQ) page about the license available at https://www.apache.org/foundation/license-faq.html.